Table of Contents
Events
Events are a modder's bread and butter. Be it from simple objects to advanced cutscenes, you can do a lot with them.
This page aims to describe editing events as well as making new ones from scratch.
Making events
To make an event, navigate to the map of your choosing and double click on any tile. Make sure the event editing mode is active.

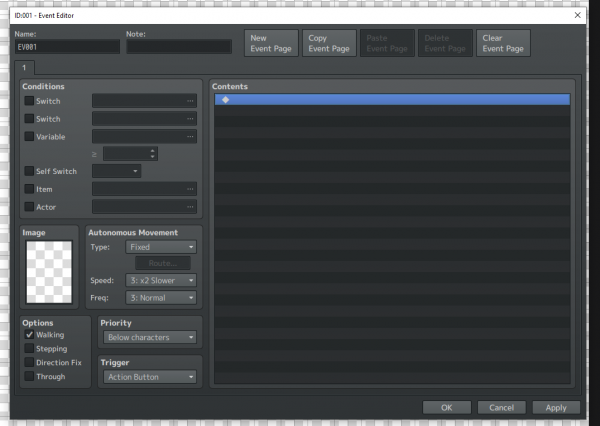
Then, the event editor will pop up. Now, this looks like a lot so let us break this down.
Event Editor
General Options
Name, Notes and Pages
Green:
The name option is rather obvious. This is where you internally name your event. Great for keeping track of things.
The notes option is for, well, making notes. Sometimes, the game uses this field to make events extra wide or similar.
Blue:
And lastly, pages. Pages can almost be treated as new events. Without going into too great detail, the highest numbered page is always loaded first depending on its conditions.
For example, you have an event with two event pages: event page 1 and 2.
Event page 2 will always be loaded first unless you have set a condition for it. You could, as an example, give it the condition “Actor: 0004” Hero, which will lead to the page only being active if Hero is in your party.
Conditions
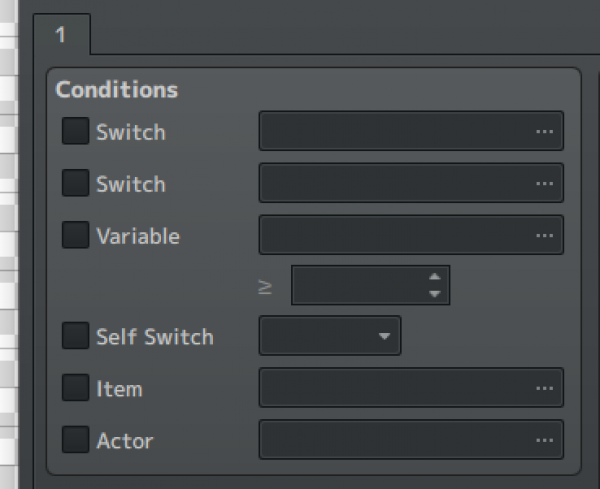
Speaking of conditions, here they are. Basically, an event page may only be loaded or used when its condition is true. You may check 2 switches, one variable, a self switch, an item and if an actor is in your party at once.
More on switches, variables and self switches later.
Image
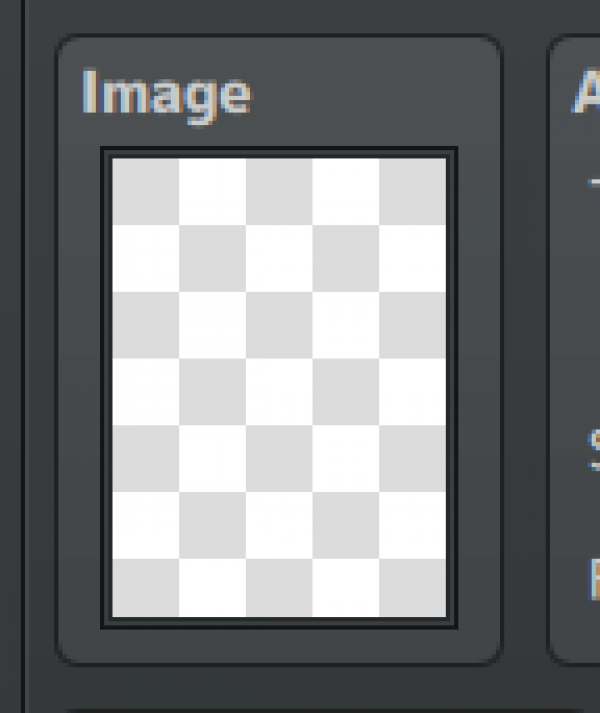
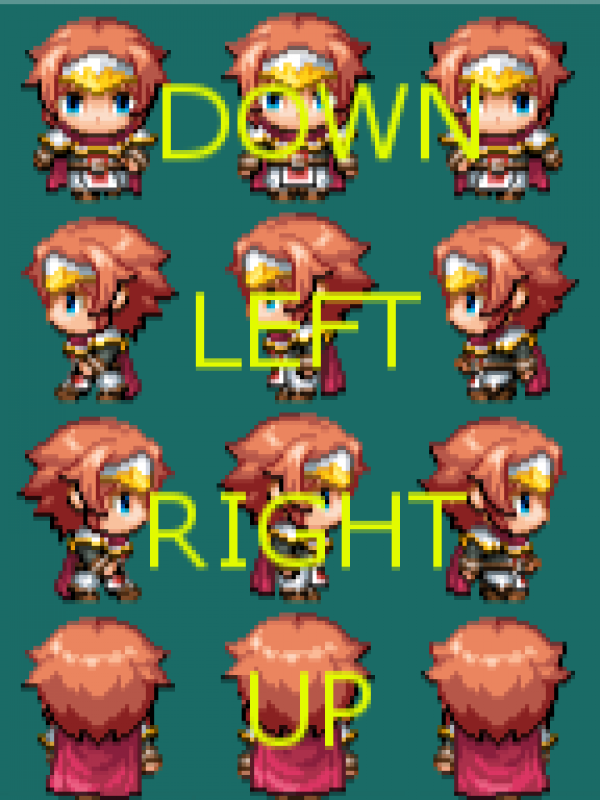
The image or sprite the event uses. These can be a little tricky to set up. The engine usually demands an image 12 tiles wide and 8 tiles high. The tiles can be whatever size the creator desires.
Adding a “$” as a prefix to the image file's name will make the engine expect a 3×4 tile image.
Adding an “!” to the beginning of the sheet’s name will make the sprites perfectly aligned, as opposed to the default which is y-shifted up by 6 pixels.
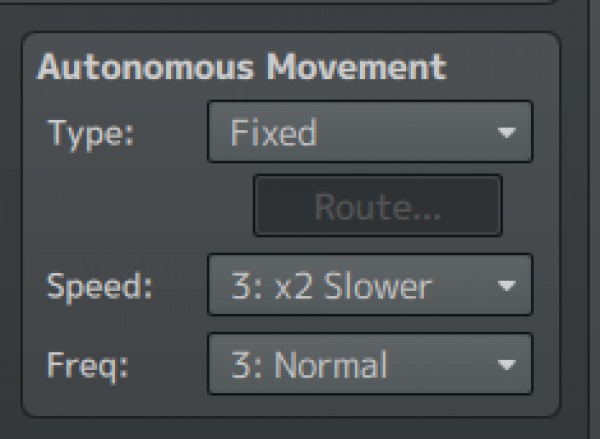
Auto. Movement
This basically enables your event to move by itself.
There's four types: Fixed, Random, Approach and Custom.
Fixed: Will just stay in place and not move unless moved by a movement command
Random: Like its name says, will behave in a random, non predictable way.
Approach: Will approach the player.
Custom: Allows you to set a custom movement route that the event will perform on its own. More on movement routes later.
The speed button dictates how fast the event can move and the freq. button how much/little time must pass between movements.
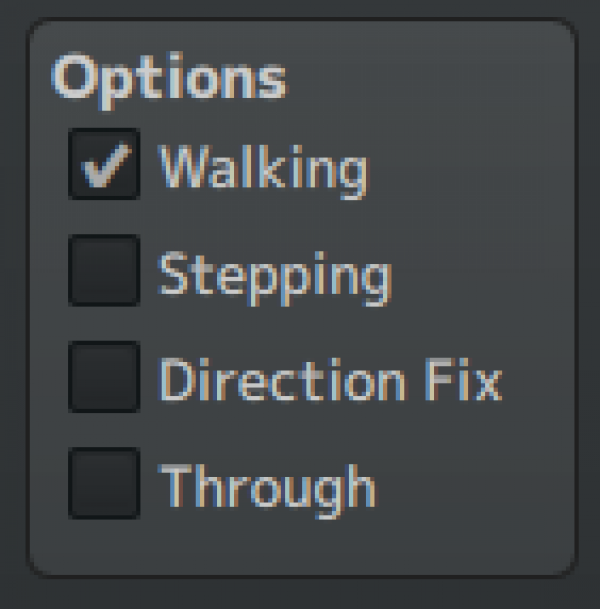
Options
Here are four checkboxes that you can either turn on or off.
Walking: The sprite goes through its three frames of animation for the direction it is moving (if it moves)
Stepping: The sprite goes through its three frames of animation even though it is not moving
Direction Fix: The sprite will not rotate if interacted with from another side
Through: You will be able to walk through the event.
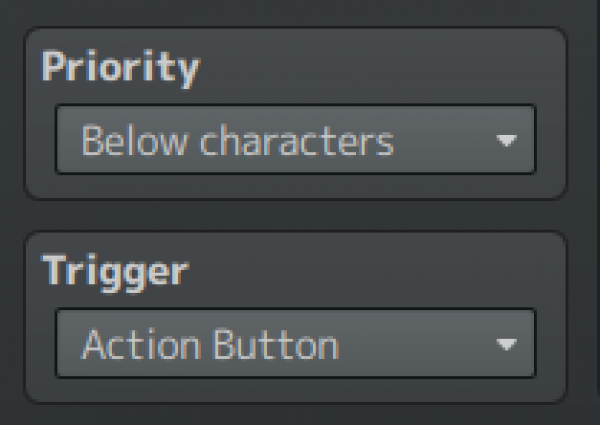
Priority
The priority will dictate “where” the event is. There are three options: “Below, Above” and “Same As Characters”.
Imagine your map consisting of three layers, the lower one (the ground), the middle one (where your characters are) and the one above (above your character)
Usually, you'll want to use “same as character” for things like objects and npcs and “Above Characters” for room transitions and similar.
Trigger
The trigger option changes what has to happen for the event to be activated. Here, there are 5 options.
Action Button: The player has to interact with the event. Think of NPCs and overall objects.
Player Touch: The player has to touch the event.
Event Touch: Similar as Player Touch but the event can now move into the player and thus trigger.
Autorun: This causes the event to be loaded when the room its in is loaded. Note: an event that has this trigger has to either erase itself or trigger the conditions for another page for it to stop or otherwise it will loop forever. Furthermore, this option takes away the control from the player.
Parallel: Similar as autorun. The event will load a couple times a second. This will not take away the control from the player.
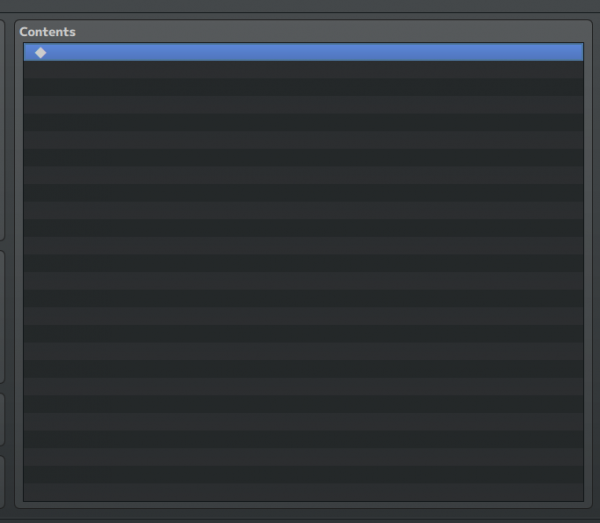
Contents
This is where the “coding” begins. Don't worry, it's not complicated.
Double clicking on the empty space on the right will make an “Event Commands” window appear. This has 3 pages.
Page 1
Message
Will show text as dialogue. This is usually not used much in OMORI. Instead, it uses a plugin. More in the “Plugins” section
Game Progression
Really important, will let you manipulate switches and variables.
Switches: Used to hold a minimal amount of information. Can be either on or off.
Variables: Used to hold numbers, letters or even words.
Self Switches: Same as switches but localised for the event. There's four (A, B, C and D) and can be checked and modified just like switches.
Control Timer: Usually not used much, just a timer.
Flow Control
Also really important, will be used for basic operations inside your code.
Conditional Branch: Your average if statement. Can be used to check to state of switches, the contents of a variable and a lot more.
Loop: Your average loop
Break Loop: Does what it advertises, it breaks the loop
Exit Event Processing: Will immediately stop the code.
Common Events: If you are already familiar with other programming languages, you may recognise this as a “function” or “method”. If not, then a Common Event is basically a set of code that has to be used rather often, it is made to save yourself time and space. This command will trigger one, a common event has to be made in the Database.
Label: A label will let you mark code and later jump around in it.
Jump to Label: This will make you jump to a specific label.
Comment: Used to… well comment things. Sometimes, you can put things in here like in the note section.
Party
In here you can change things like the amount of money, the party's items, armor, weapons or even add or remove party members.
Actor
Here you can change the stats, skills and more of certain actors/characters.
Page 2
Movement
Transfer Player: Will warp the player to a map. The game uses a script command for this instead. More on this in the “Extras” section
Set Vehicel Location: Don't use this.
Set Event Location: Can be used to move Events from one point to another.
Set Movement Route: Can be used to move events somewhat organically, mostly used for cutscenes. More on this in the “Extras” section down below.
Get on/off Vehicle: Don't use this.
Character
Change Transparency: Can make the entire party transparent.
Change Player Follower: Controls whether or not the party members from the 2nd member and on are displayed while walking.
Gather Followers: Moves all followers to the lead.
Show Animation: Can be used to display battle animations while not in a battle.
Show Balloon Icon: Makes a little balloon pop up.
Erase Event: Will remove the event until the map is re-entered.
Picture
Used to show, move, rotate, tint and lastly remove a picture.
Timing
Wait…: Makes the game wait for a certain amount of frames. Like always, 60 frames are one second.
Screen
Fadeout Screen: Fades the screen black until faded in again.
Fadein Screen: Fades the screen back in. Has no effect if used by itself.
Tint Screen: Used to tint the screen a certain color.
Flash Screen: Used to flash the screen a certain color for a set amount of time
Shake Screen: Shakes the screen for a set intensifity for a set amount of time
Set Weather Effect: Sets an overlay for a certain weather effect. There is rain, storm and snow.
Audio and Video
Lets you play audio and video, simple enough. You can save the BGM, fade it out and then replay BGM for a smooth experience.
Note: Videos should ideally be loaded with the use of a plugin.

