User Tools
Mapping
To create a map, two programs are needed. RPG Maker MV and Tiled (on version 1.0.3).
Step 1. Creation
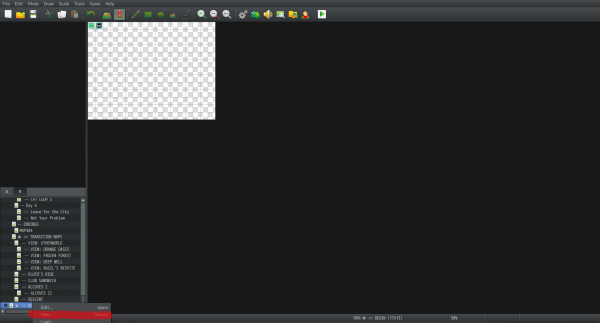
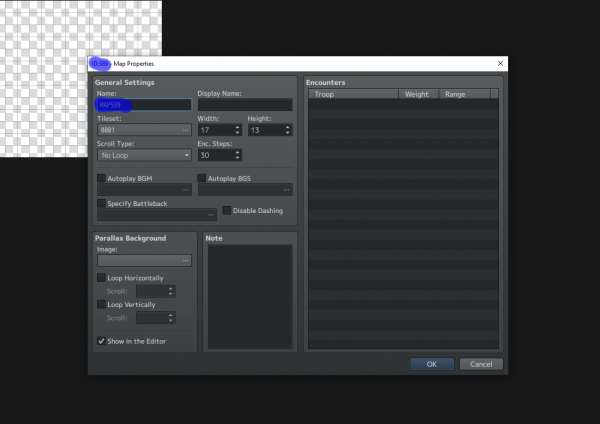
Creating a map is as simple as right clicking in the bottom left corner of RPG Maker MV and clicking on “New”. Then, give your map a name, and click on “OK”.
It is generally advised to do this under “❈ » BEGIN” so your maps are all under one place.
After this, look at the Map ID you’re given and copy and paste the template map (map00_Template_32x32) under: “OMORI\www_playtest\maps” and rename it to whatever map ID you got. (example: map518)
Step 2. Tiled
Get Tiled version 1.0.3 (anything newer/older might break), start it and open the newly copy and pasted map.
Now you'll want to make sure that the tileset window and layer window are both open. If they aren't, go to the “view” dropdown menu, then on “Views and Toolbars” and select the windows you need.
To create the map, you'll want to import a tileset and just “draw” with the stamp brush tool (shortcut: B). If you do not have a tileset imported, take a look at the next step.
Step 3. Tilesets
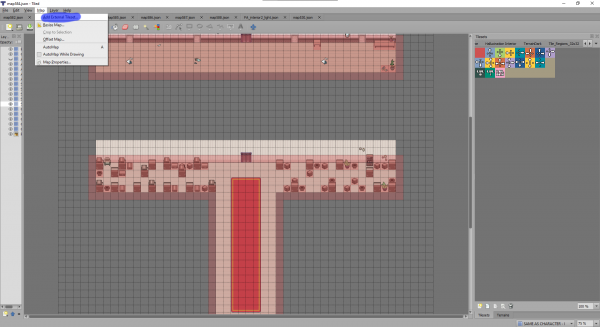
To import tilesets, simply click on “Map” and then on “Add External Tileset”. This will open a file browser. Go select the tileset(s) you need, they’re in the maps folder. Furthermore, make sure that you have the “tilesets” tab open, because that’s the one you need.
Note: The tilesets TileD uses are in the json format, they are usually named similarly to their image counterparts found in img/tilesets
Step 4. Collision
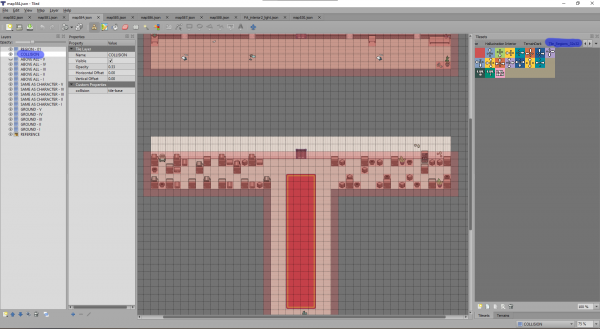
Collision detection can be a bit finicky. To implement it, select the tileset “Tile_Collision_32x32” and select the layer “COLLISION”. You’ll need the red block and the tiles with the arrows.
The red block makes the tile it’s on completely inaccessible.
The arrow tiles can provide finer collision detection. The tile can be entered/exited from the direction the arrow(s) is pointing in.
Step. 5 Tileset Creation (Optional)
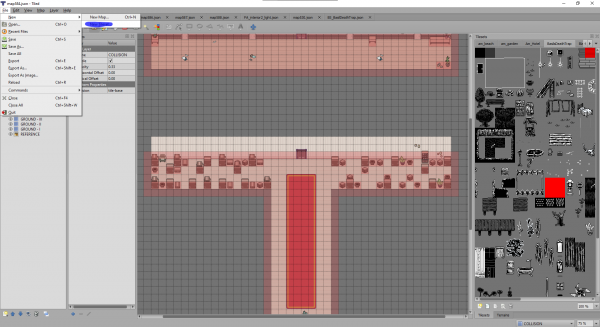
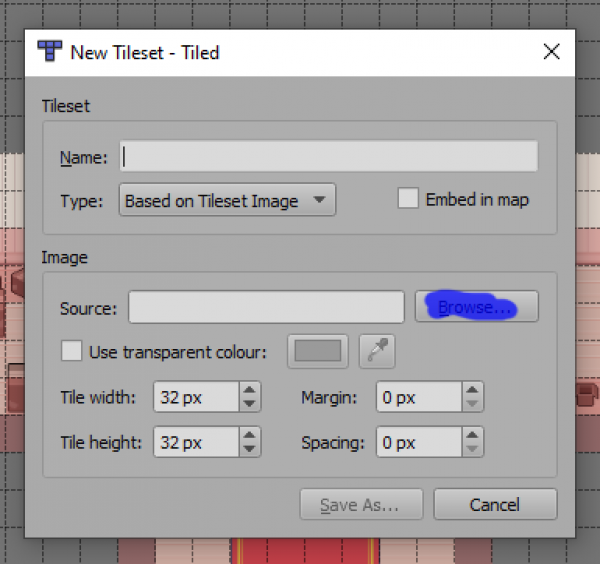
To create a new tileset, you must create a 1024×1024 big image. The individual tiles are 32×32 big. After you are done, select “File” in tileD and click on “New Tileset”.
Next, a new window will pop up. It'll ask for a tileset image, supply it with the one you just made. Every other option is fine to leave as is. A name will usually be given but you may change it.
Step. 5.5 Tileset Animation (Optional)
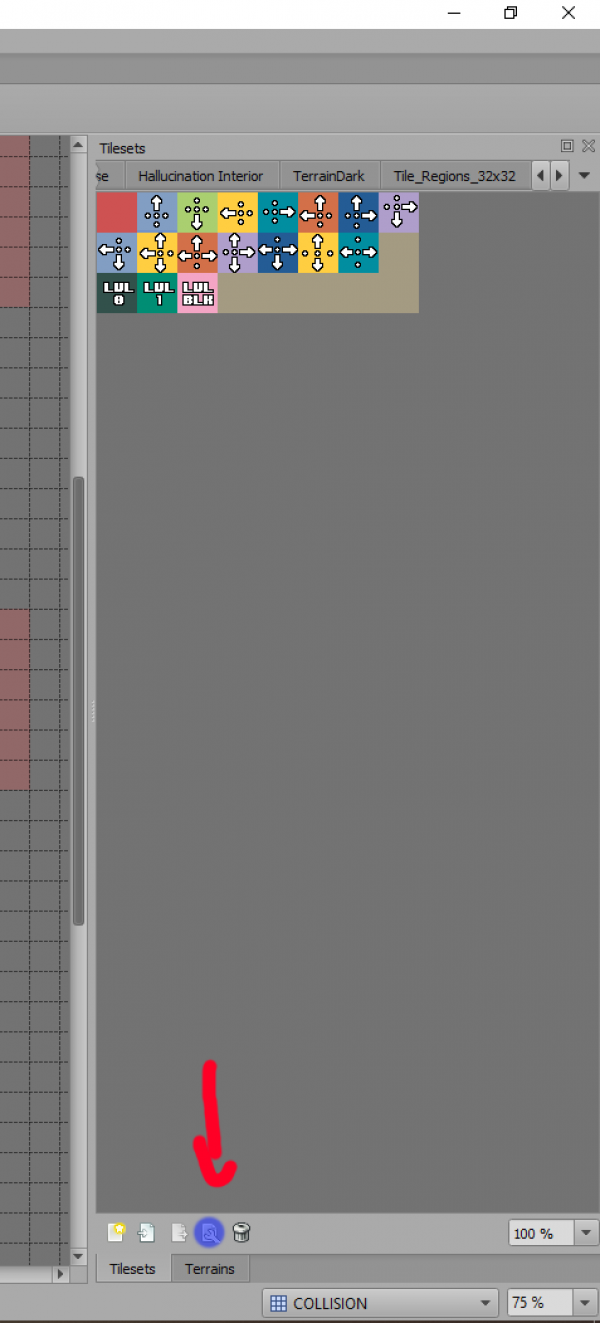
In TileD you can animate certain tiles. To do so, you have to edit a tileset directly. To do so, click on the gear icon on the lower side of the tileset window.
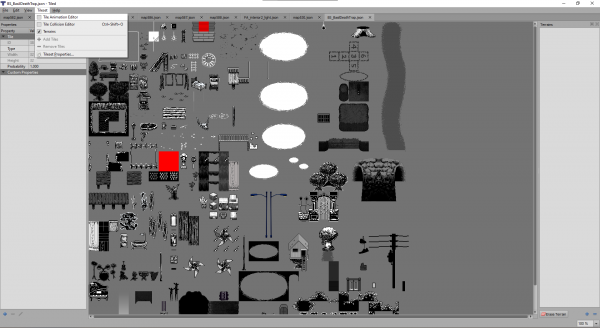
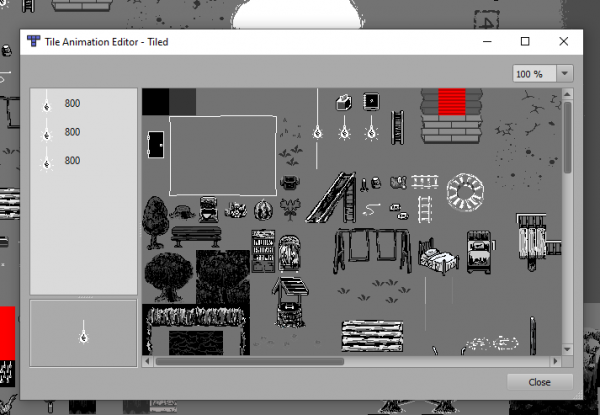
Then, right click a tile you want to use as a base. I choose the lightbulb. After that, go to the dropdown menu titled “Tileset” and select “Tile Animation Editor”
Now, a new window will appear. In here, you can simply click any tiles that you want to include in the animation. Keep in mind that your base tile will not included when you first create the animation. On the left, you may either remove the tiles you added with the backspace key, or edit for how long the tiles appear for in the animation in frames. As always, 60 frames are one second.
Now when you go back to your map, if you place the base tile, the tile will be animated.
Step 6 Tile Regions (Optional)
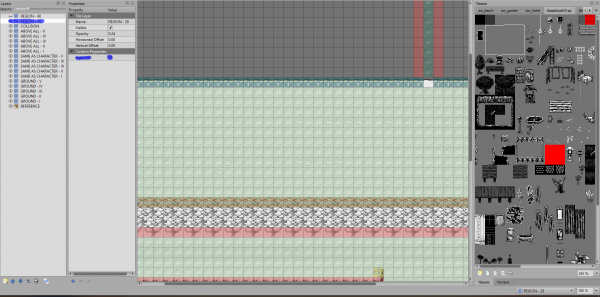
Tile regions make special stuff happen. To use them, right click on the Tile Regions layer and click on properties, then, change the regionId to whatever one you plan to use. You can have multiple layers, it is best to rename them if you can.
If you don't see the properties window then simply right click the layer and click on “Layer Properties”.
These aren't used a lot. Here is a list of currently known Tile Region IDs
10: Will make the player slide. (akin to the snowglobe caves)
20: Will act as collision tiles but only for enemies.
28: Will make footprints appear.
90: Will swap the character's sprite to the ladder climbing one.
92: Will flash the screen red and damage the entire party by 10 HP
Step 6.1 Custom Tile Regions (Optional)
Furthermore, you can use them for your own needs. For example, if you stick this in the script section of the “if command”
$gamePlayer.regionId() === 100
Then the game will check if the player is currently standing on the Tile Region 100.
The following code snippet can be put in a “script command” to place a specified event to a random Tile Region. In this example, the '8' is the event and '15' is the Region ID.
$gameMap.randomPos(8, 15);

